
Football Party Banner DIY
Creating your own party banners is an easy way to personalize your decor. This three-dimensional football party banner is a simple craft that is sure to stand out at your next event. Whether you are using this banner at a party or to hang on a sign to cheer on your athlete from the sidelines, you can follow the simple steps below to create your own.
Three-Dimensional Football Party Banner Supplies
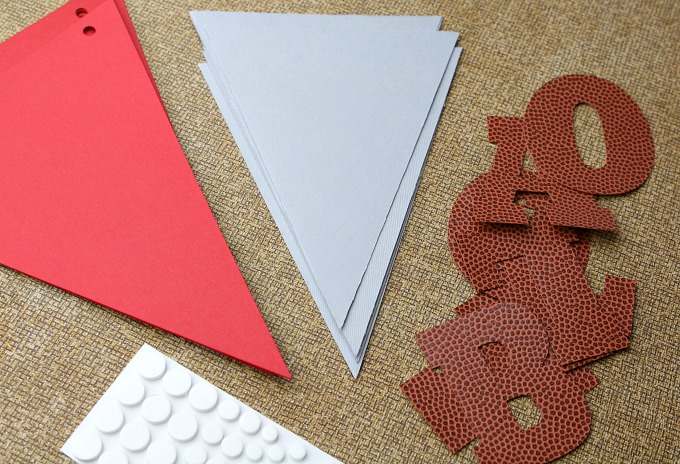
- Cardstock – 2 colors of choice
- Faux Leather Football Pattern Scrapbook Paper
- Double-sided Three-Dimensional Glue Dots or Foam Stickers
- Jute or Twine
- Hole Punch or Die Cutting Machine
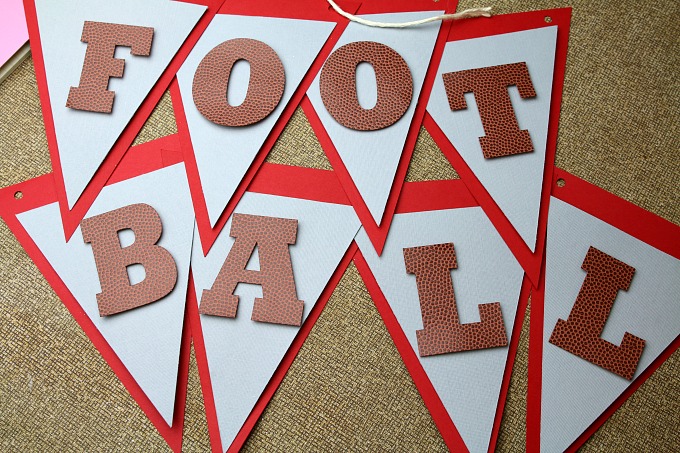
Our local high school team colors are black, red and silver. I decided to create our football party banner using coordinating scrapbook paper in red and gray. The paper I used to cut out the letters to spell football was found at my local craft store in the scrapbook section. The faux leather football paper was perfect! I wanted my banner to be three-dimensional, but that is completely optional, you can make yours lay flat by using double-sided tape.
DIY Football Party Banner Tutorial
First, I cut out my triangles in the cardstock paper. Since I was layering the two different colors, I needed one set of triangles to be slightly smaller than the other. This way both colors stood out. You can trace a triangle in the size you prefer and cut by hand or use your die-cutting machine. Feel free to download my free printable templates below to make your banner the same size and shape as mine. I used my die-cut program to automatically cut holes on the top points of the larger triangle flags. However, you can use a hole punch to quickly do this yourself. Remember, your smaller flags do not need holes.
Once you get your triangles cut out, it is time to cut the letters. I used a block font that resembles the same font you would see on a letterman jacket at a high school. Some online programs call this font Spirit or Freshman. In the Silhouette program it is called Rockwell. Again, I created a free template for printing below.
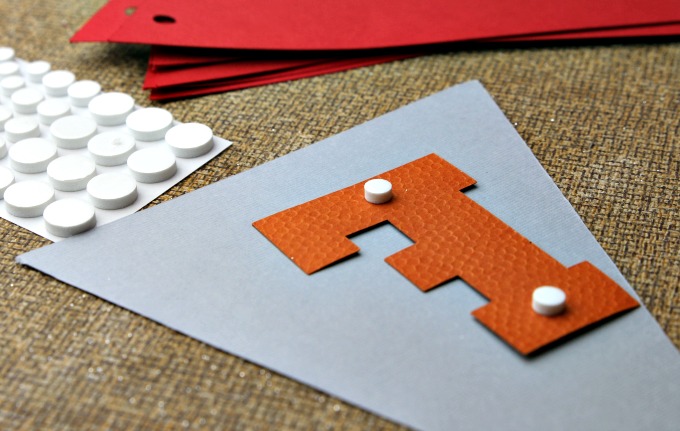
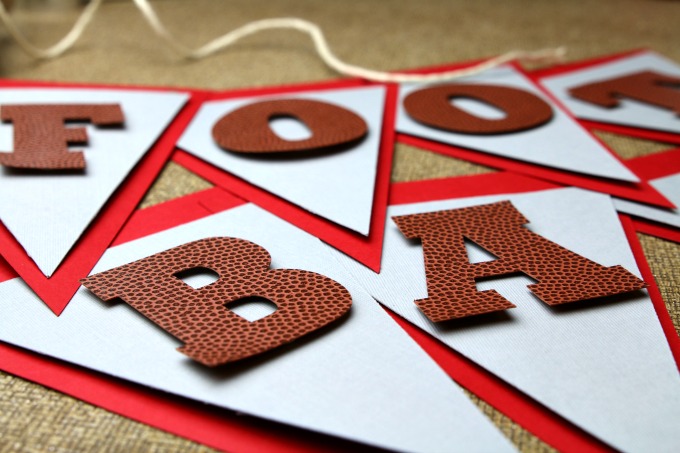
To give my banner a three-dimensional look I used thick foam adhesive dots. These are the best things ever! They are so simple to peel off the sticker sheet and apply. They really hold your paper in place too. I used one dot on the top and bottom of each letter to hold it centered. For the letter A I put the dots diagonal to hold into place. Once you add the dot to the back of your letter, peel off the double-sided adhesive protector and place on the center of your smallest triangle.
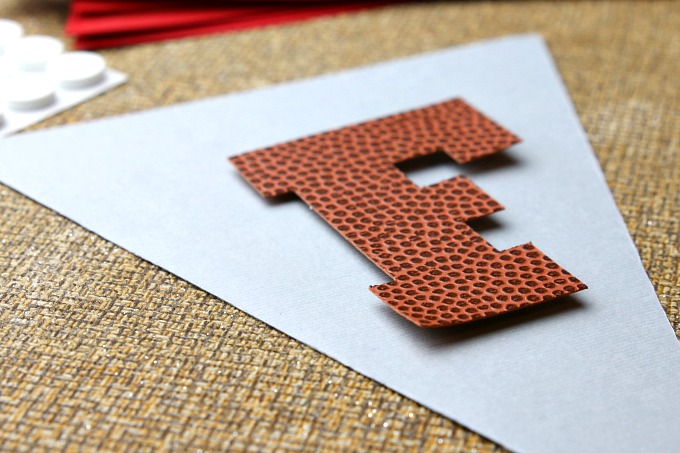
See how the F stands away from the flag? Love it.

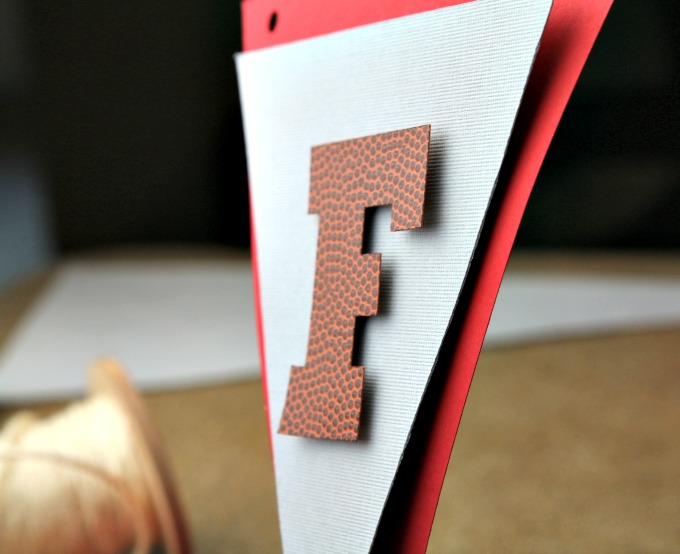
Next, you want to do the same thing with the top triangle flag to layer against the bottom. See how nicely it stands out?
After you get all of your letters and triangles put together you are ready to start stringing them up.
I used light color jute but any string or yarn will work.
Now it’s time to hang your banner! This football party banner also serves well in a classroom, decorating the side of a truck for a tailgate party, or even attached to a poster-board for cheering from the sidelines.

Want to see this football party banner in action? Check out my How to Host a Football Homecoming Mum Making Party post.
What are your school colors? Which team are you cheering on this fall?
Football Banner Templates
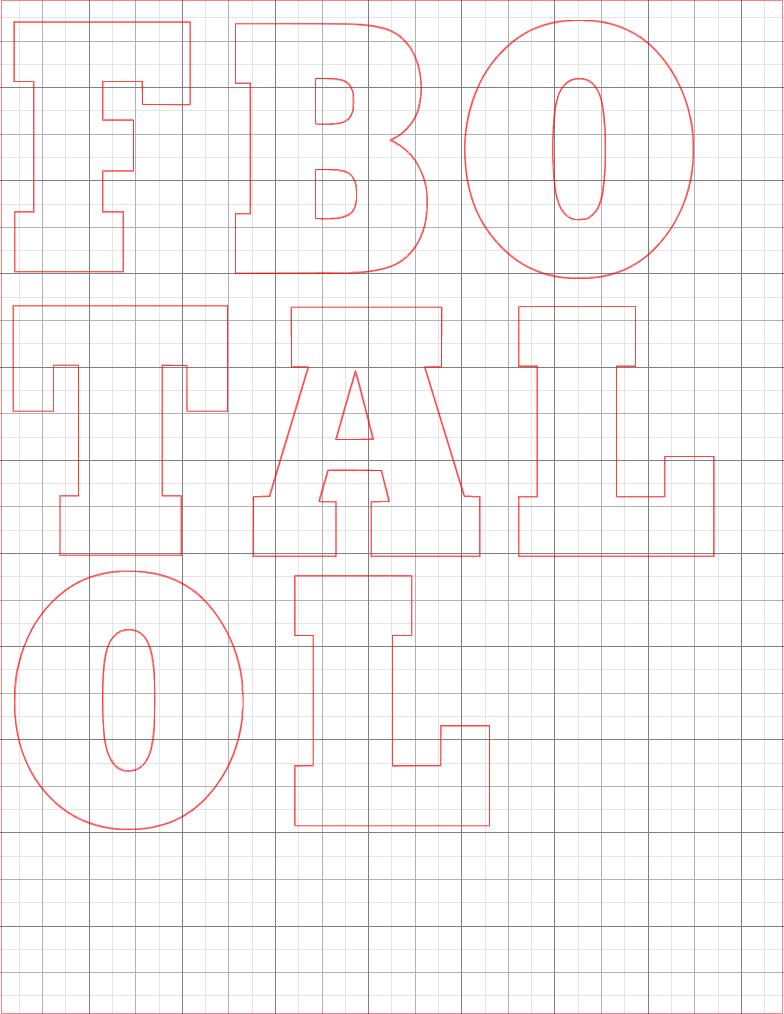
click image to download printable
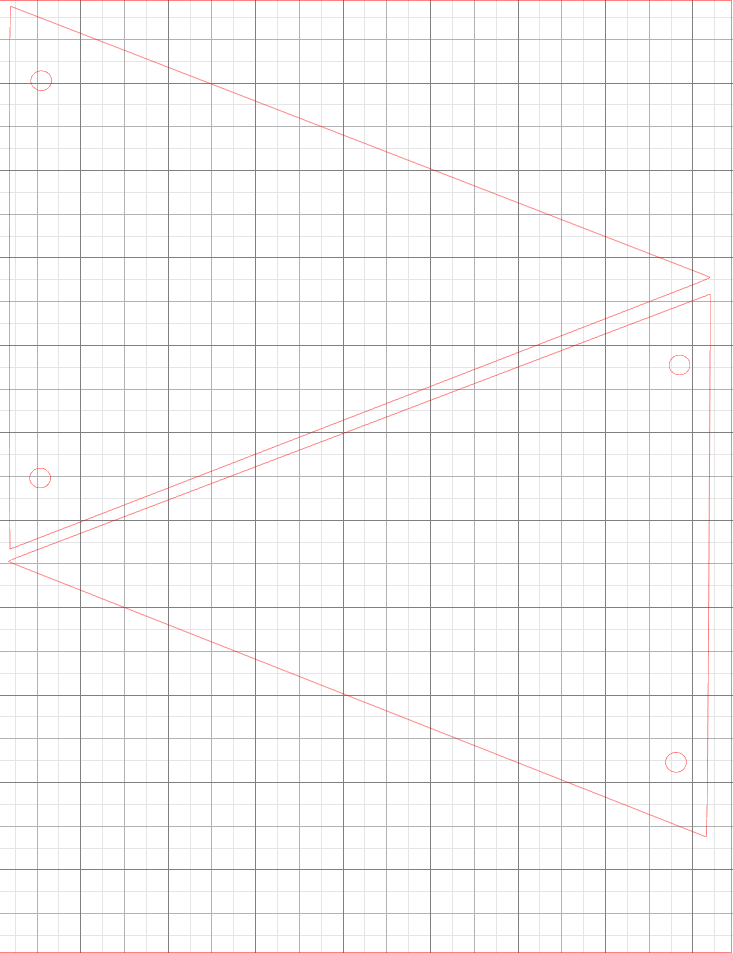
click image to download templates
*Templates on sized for 8.5×11 sheets.
I love the football patterned paper!
Oh this is such a neat idea! 🙂
I would love for you to share this with my Facebook Group for recipes, crafts, tips, and tricks: https://www.facebook.com/groups/pluckyrecipescraftstips/
Thanks for joining Cooking and Crafting with J & J!
Great idea!! Thank you for sharing at Merry Monday.
Thank you for the great idea. I used something similar to this, except for a St. Patty’s themed banner. I used green wrapping paper for backing, and created my letters by making a template using word (and super large fonts!), printing it, and tracing the letters onto gold wrapping paper (I had extra). I didn’t have a hole punch, and I didn’t want to rip the paper, so I just folded the top over my ribbon and taped the ends closed. It worked really well. Thank you for the inspiration!