
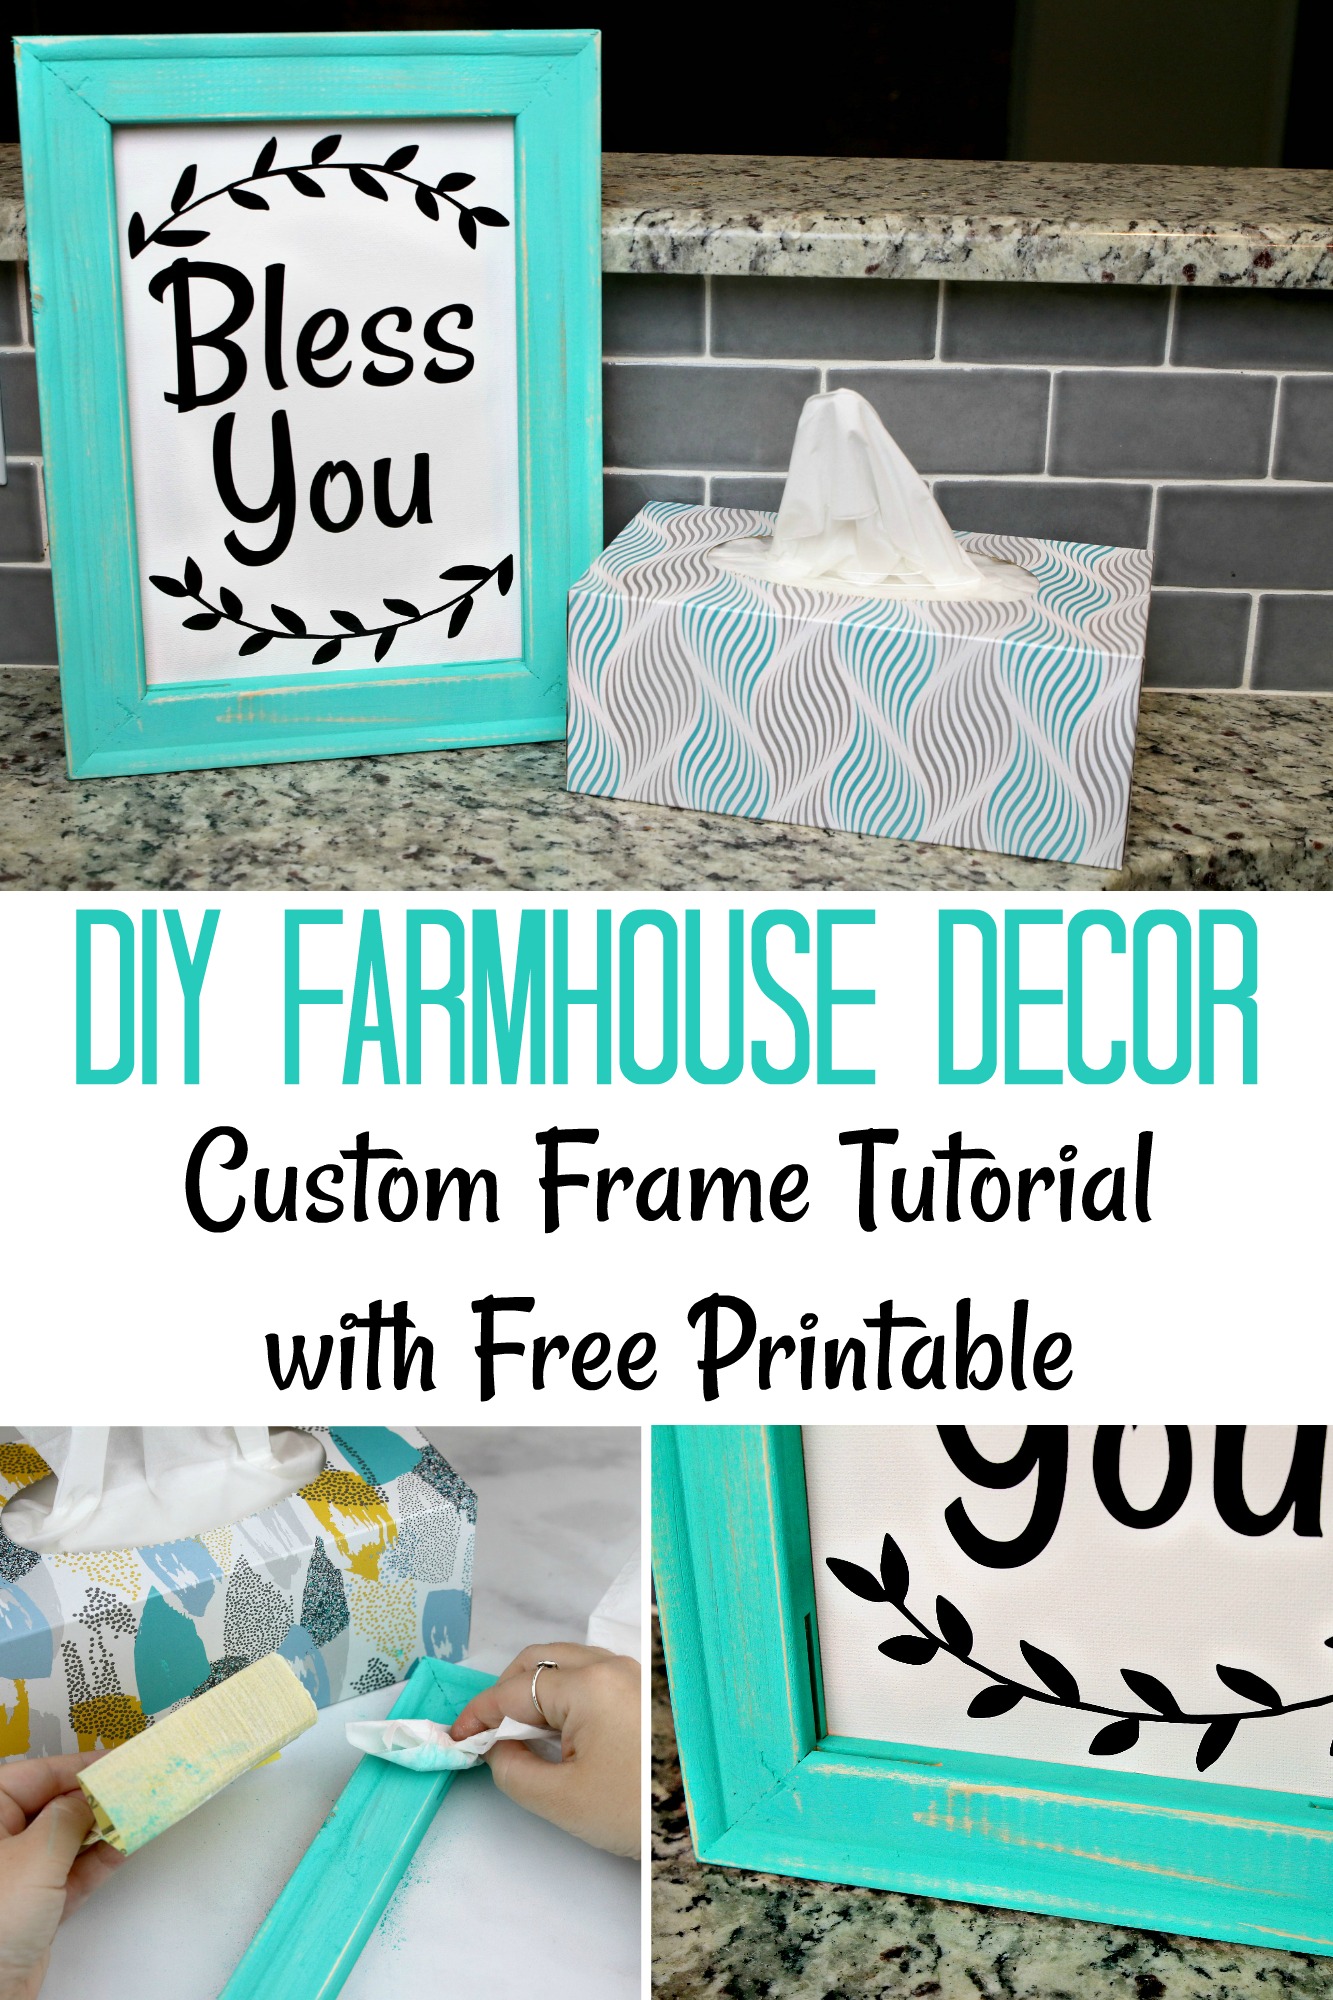
DIY Farmhouse Decor – Custom Frame Tutorial with Printable
Last fall we started our home remodel and I have been eagerly working on home decor projects ever since. I recently partnered with Sam’s Club to bring you this DIY Farmhouse Decor. I love how fun it was to match the Member’s Mark Brand 2-ply Facial Tissue box design with this custom farmhouse canvas frame.

I love the look of farmhouse style decor, but when customizing a canvas, you rarely see the wooden frame. That’s why I’m going to show you how to unwrap a gallery wrapped canvas and give it the farmhouse look.
DIY Farmhouse Decor Supplies

- Gallery Wrapped Canvas
- Paint – color of choice
- Paint Brush
- Sandpaper
- Staple Remover
- Hot Glue Gun + Glue Sticks
Optional:
- Sticky Vinyl
- Vinyl Cutting Machine
- Transfer/Contact Paper
- Scissors
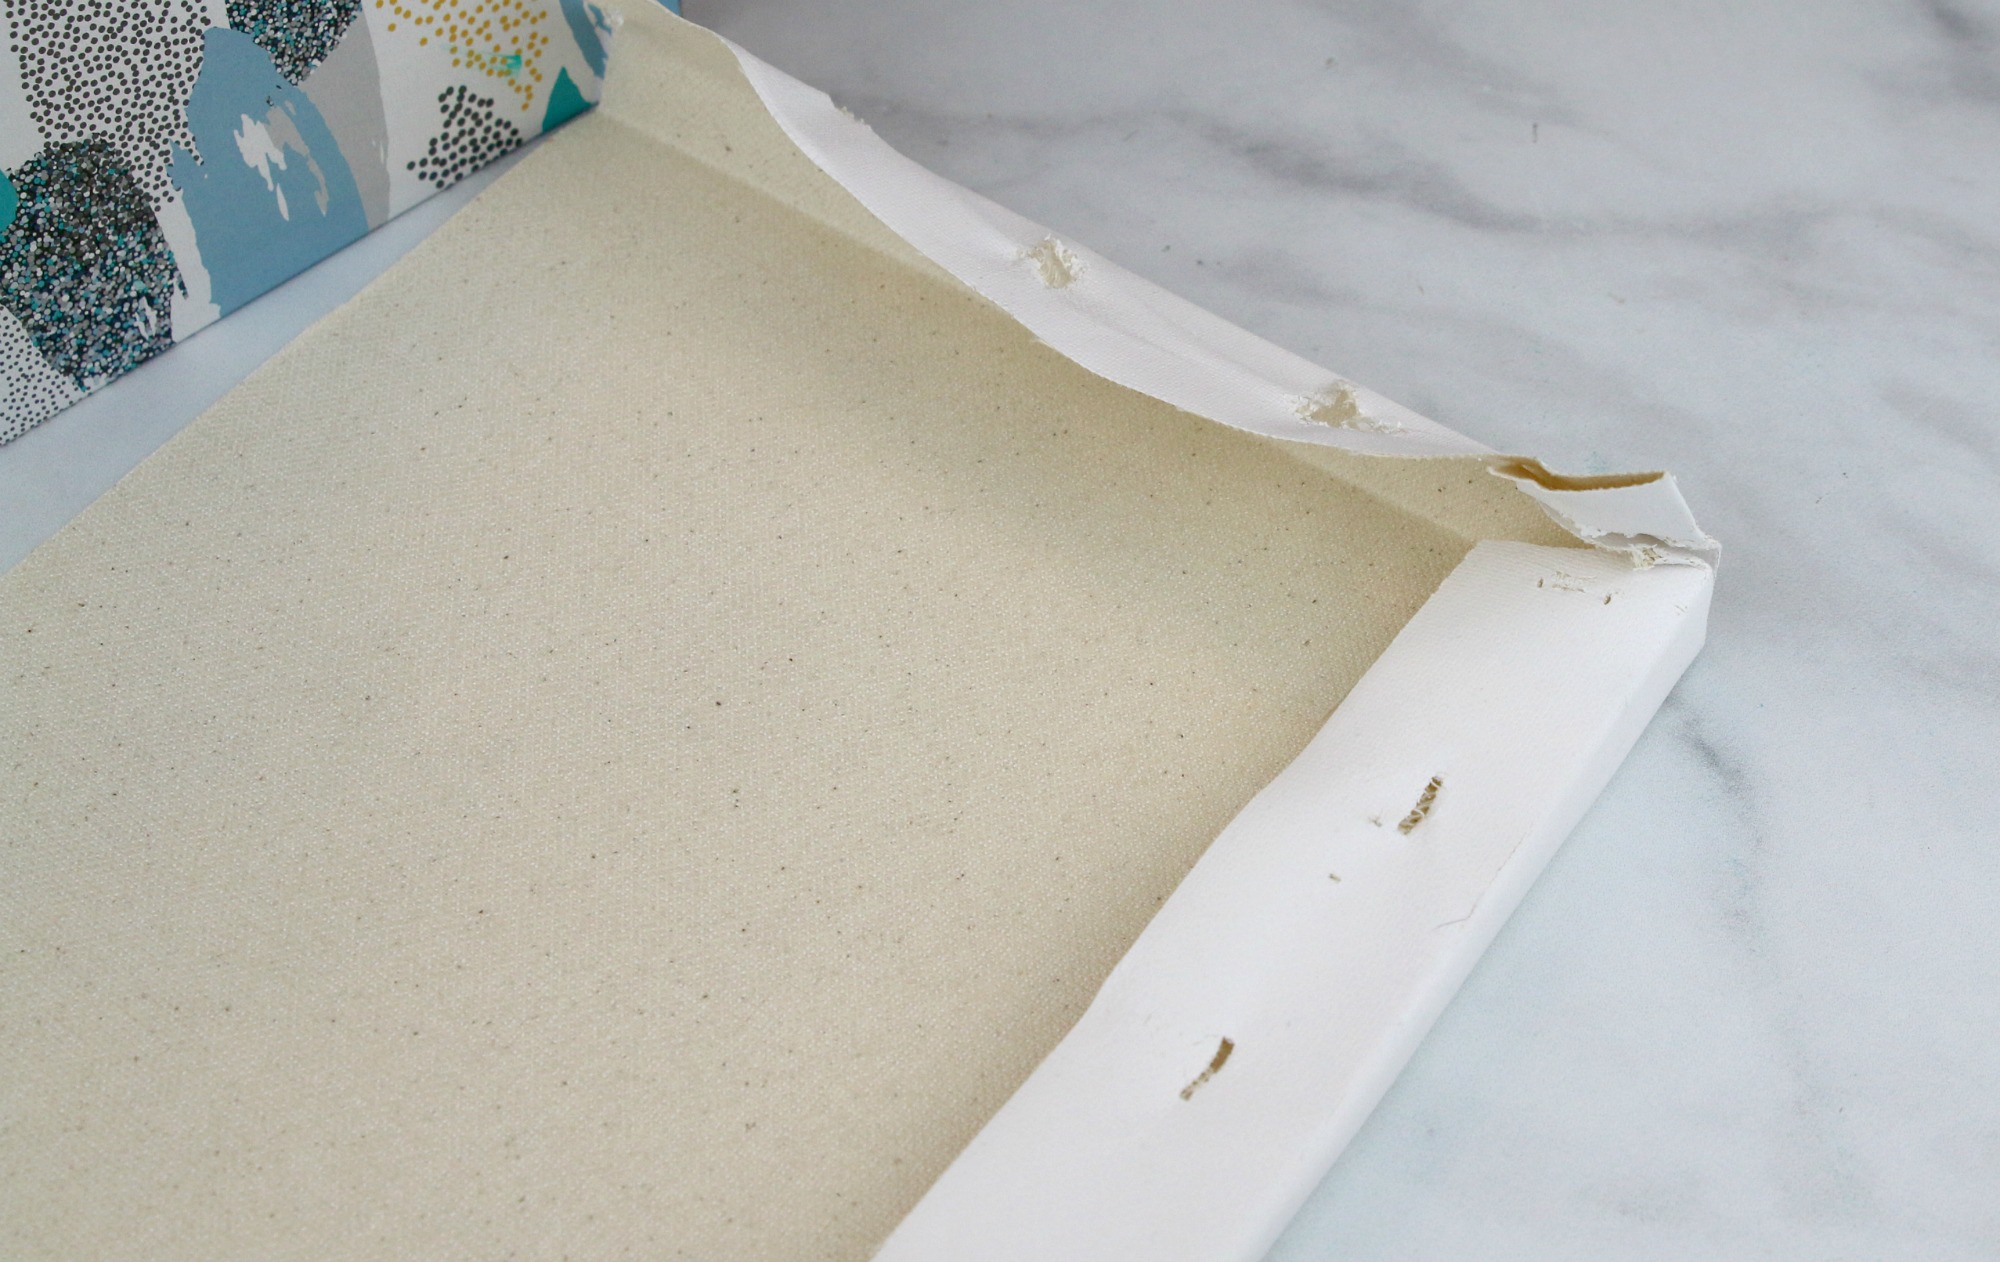
Start by unwrapping the canvas from the wooden frame. A staple remover comes in handy to get all the staples out of the back of the frame to make it easier to remove the canvas without damaging the front of it.
You will want to see the wooden frame when customizing your canvas to style as farmhouse decor.
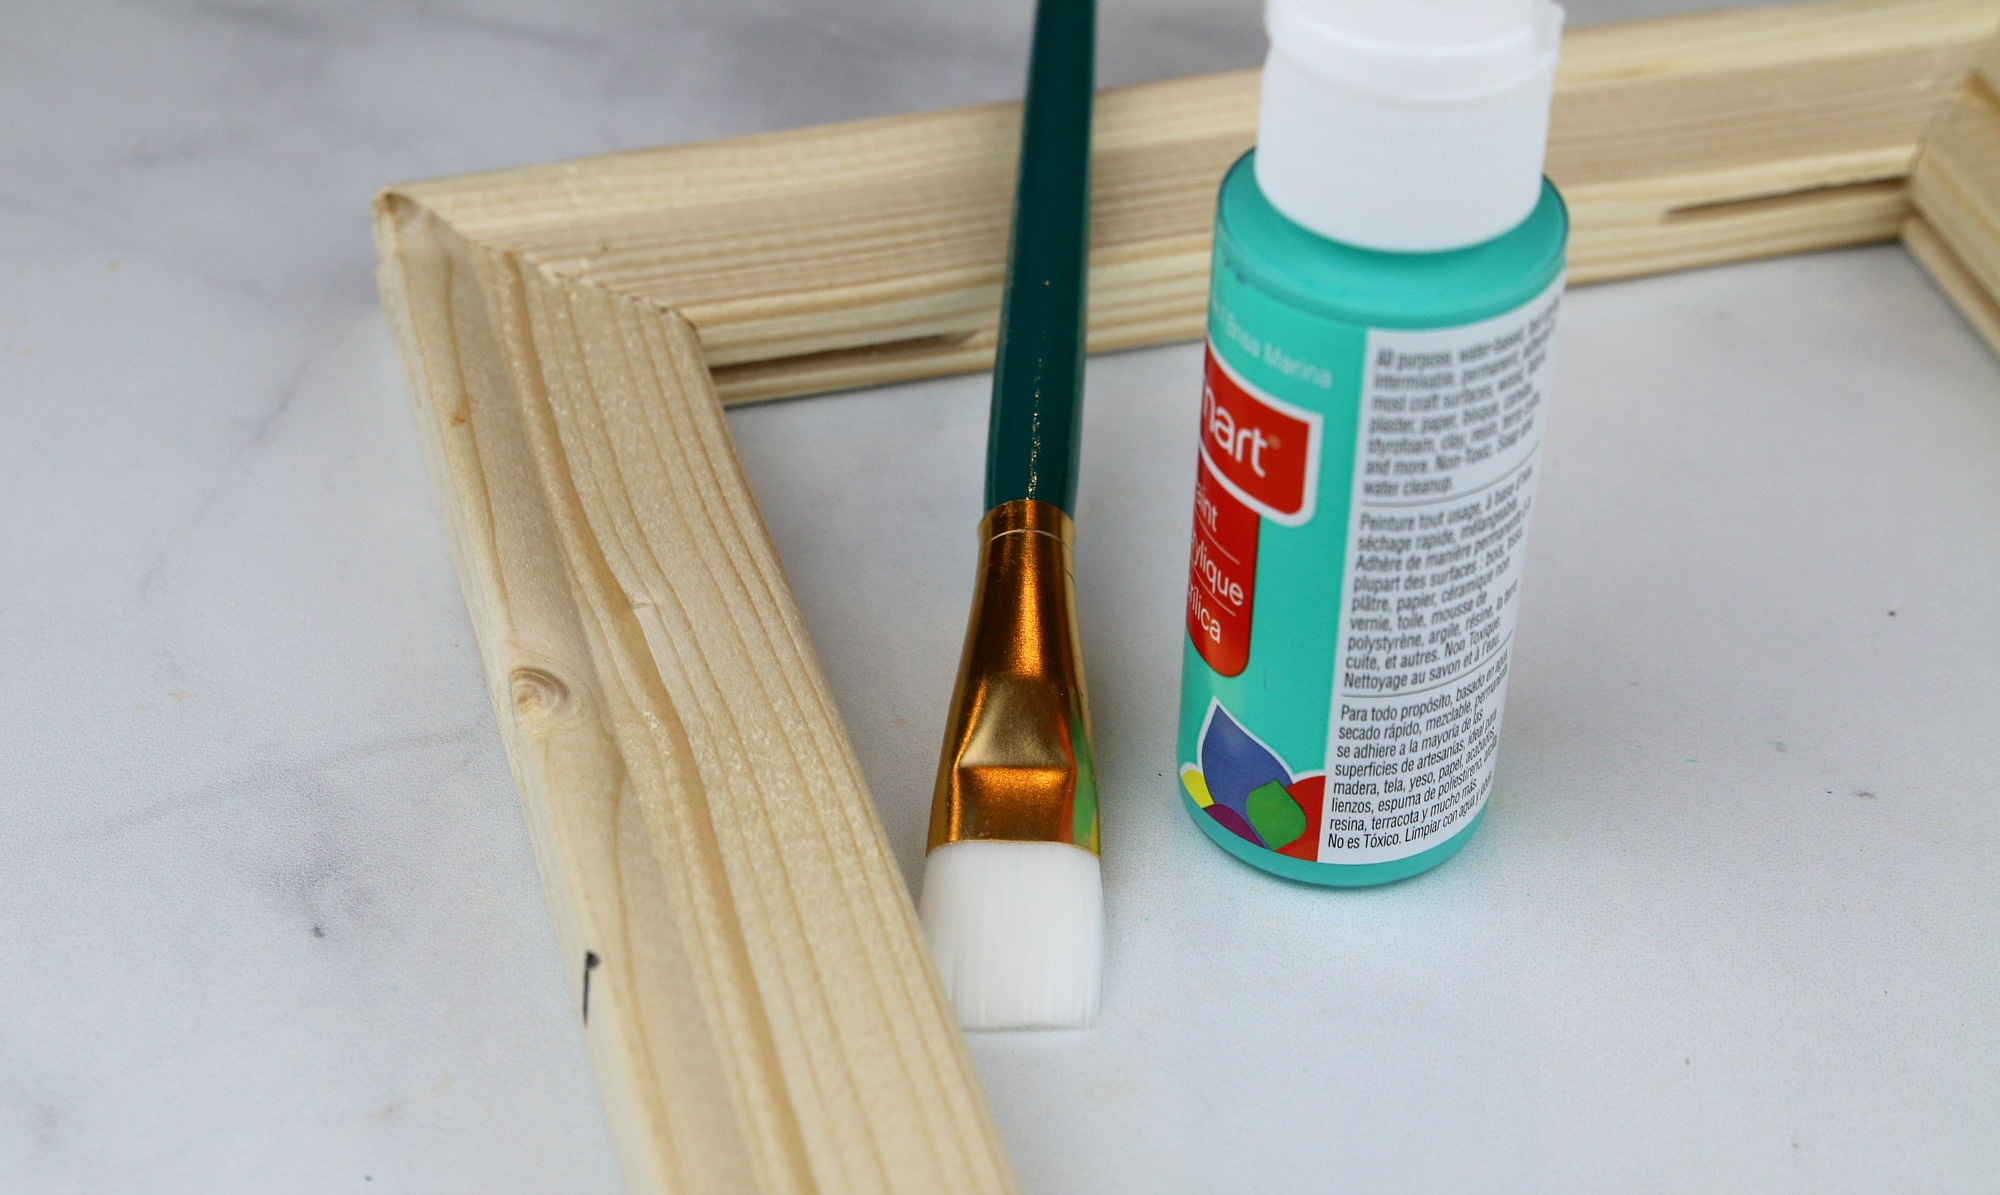
Paint one coat of your paint on the frame. Make sure you get the paint to cover the inside and outside of the frame. Since you will only be adding the canvas to the back of your frame, the entire wooden frame will show after completion of your project.

I love using teal paint in my farmhouse decor, but feel free to use any color of your choice. An eggshell blue would be beautiful, as well.
Member’s Mark Brand 2-ply Facial Tissue has 2 layers of gentle strength for multi-purpose tissue needs, which made it perfect to use with this somewhat messy craft.
Since I wanted to give my customized frame an antique look, I knew I was going to be sanding off some of the paint. This is why only one coat of paint is needed. If you feel there is too much paint in a given spot, wipe it off before it dries.
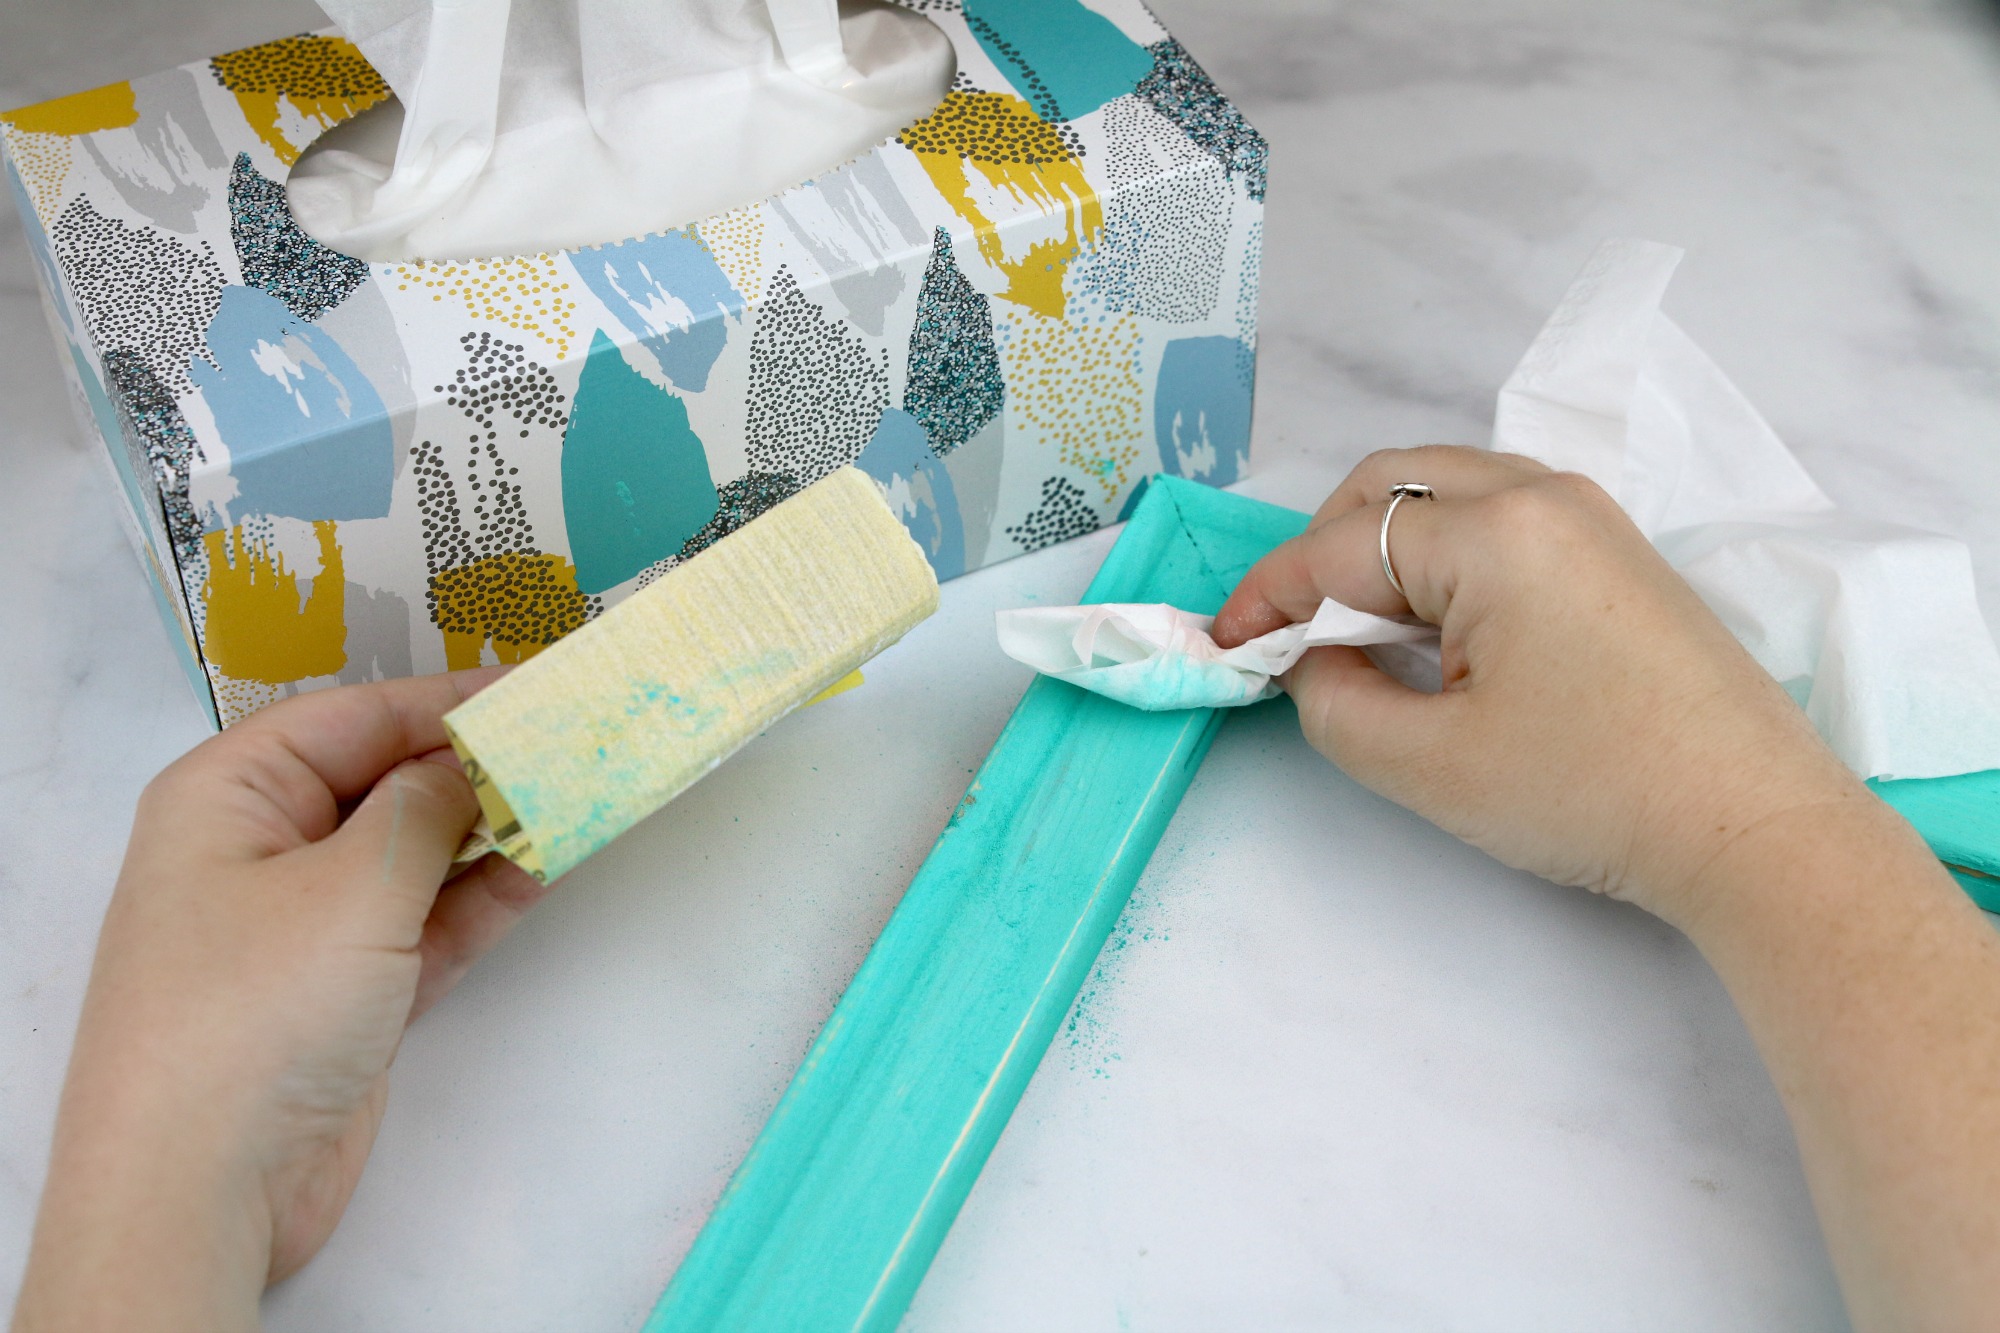
Once the wooden frame is completely dry, it is time to start sanding. By roughing up your frame, you give it the true farmhouse look. This was the fun part, but a little messy. When using sandpaper, be careful. You do not want to sand down too much of the wood on your frame. You want to gently remove some of the paint you just added, so you see the wood come through.
This is where the softness of Member’s Mark Brand 2-ply Facial Tissue came in handy. As I would sand a small portion, I used the tissue to wipe away the dust. Examining each section to make sure it stayed smooth and the sandpaper didn’t dig too deep.
The main areas to sand, to give an antique look, are the edges of your frame. After sanding the corners and edges, you can rough up a few areas in the middle on each side.
Your canvas needs to be trimmed to fit the back of your frame. As long as it covers the opening of your frame, it works. Since no one will see the edges it does not have to be perfect.
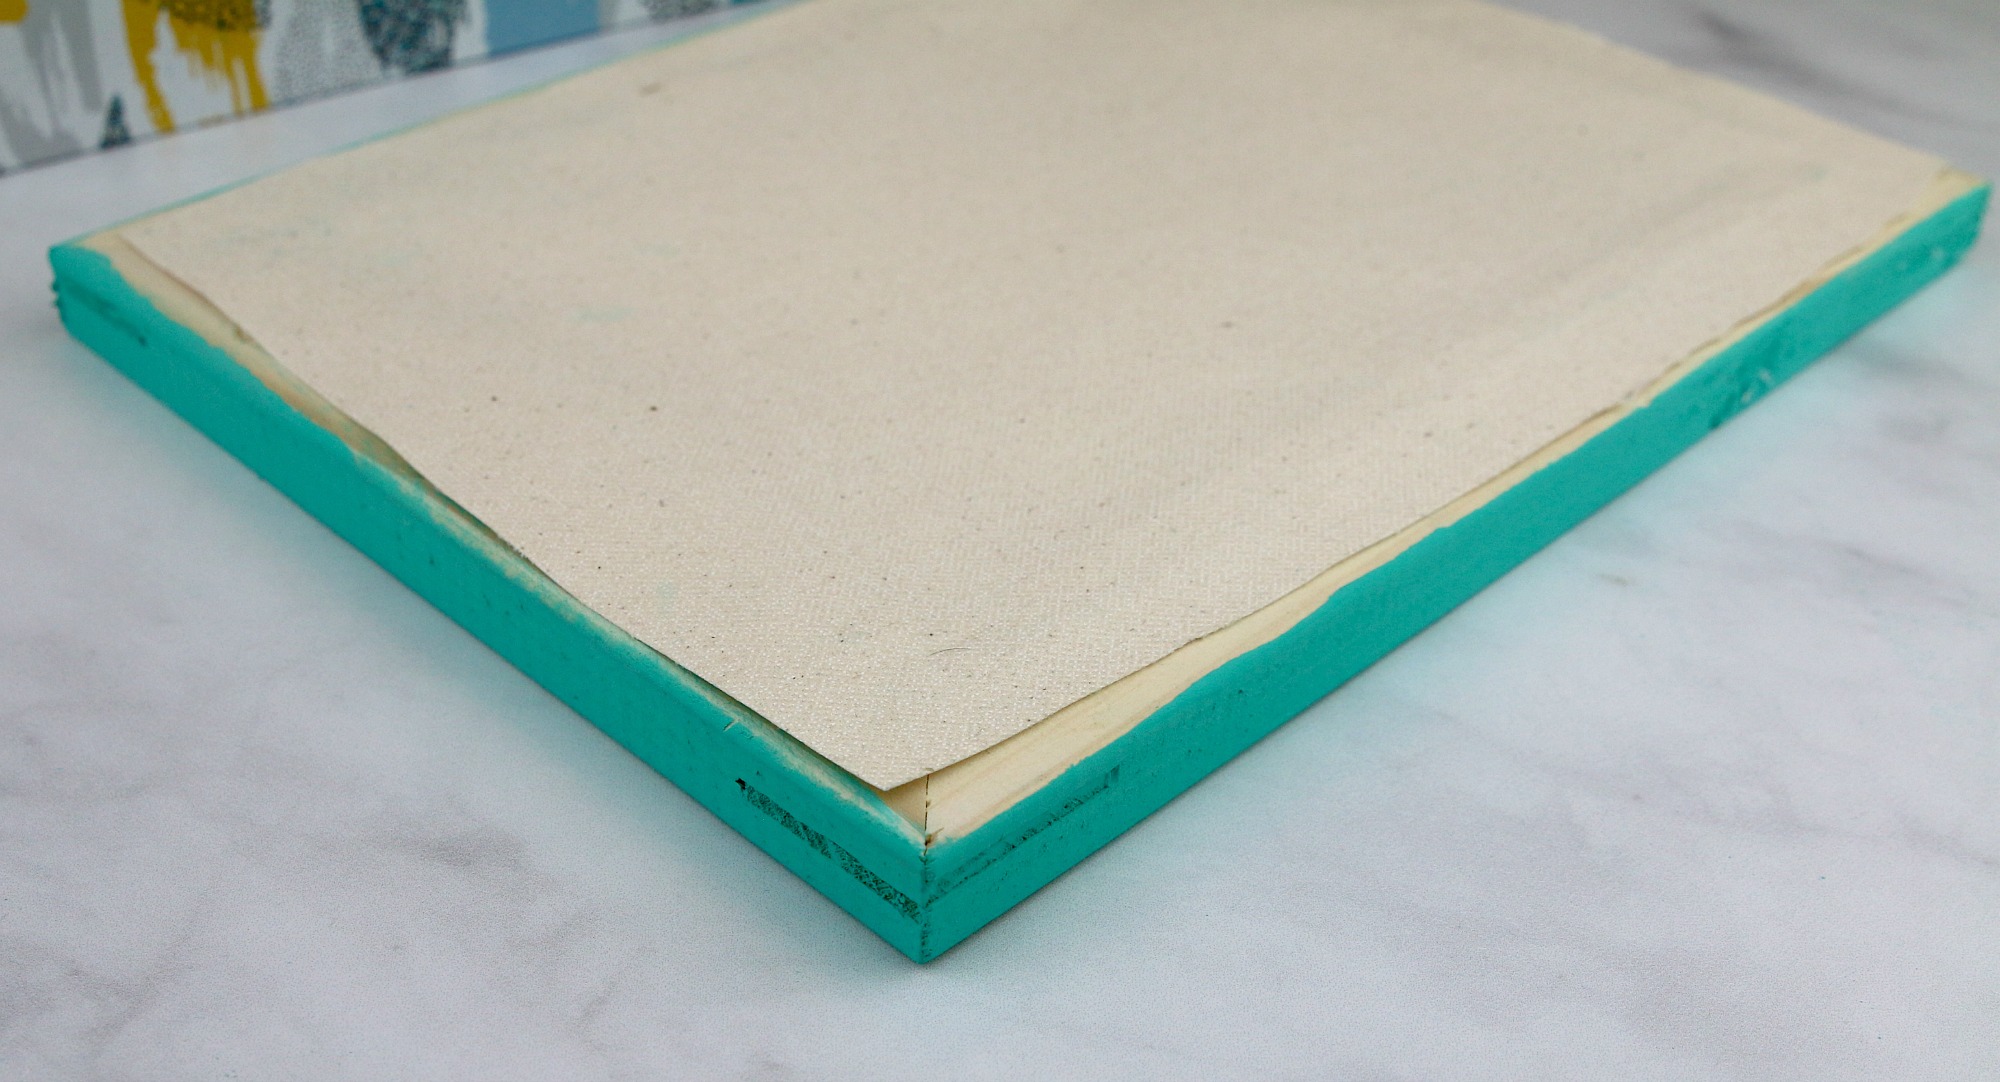
After trimming your canvas, use hot glue to secure it to the back of the frame.
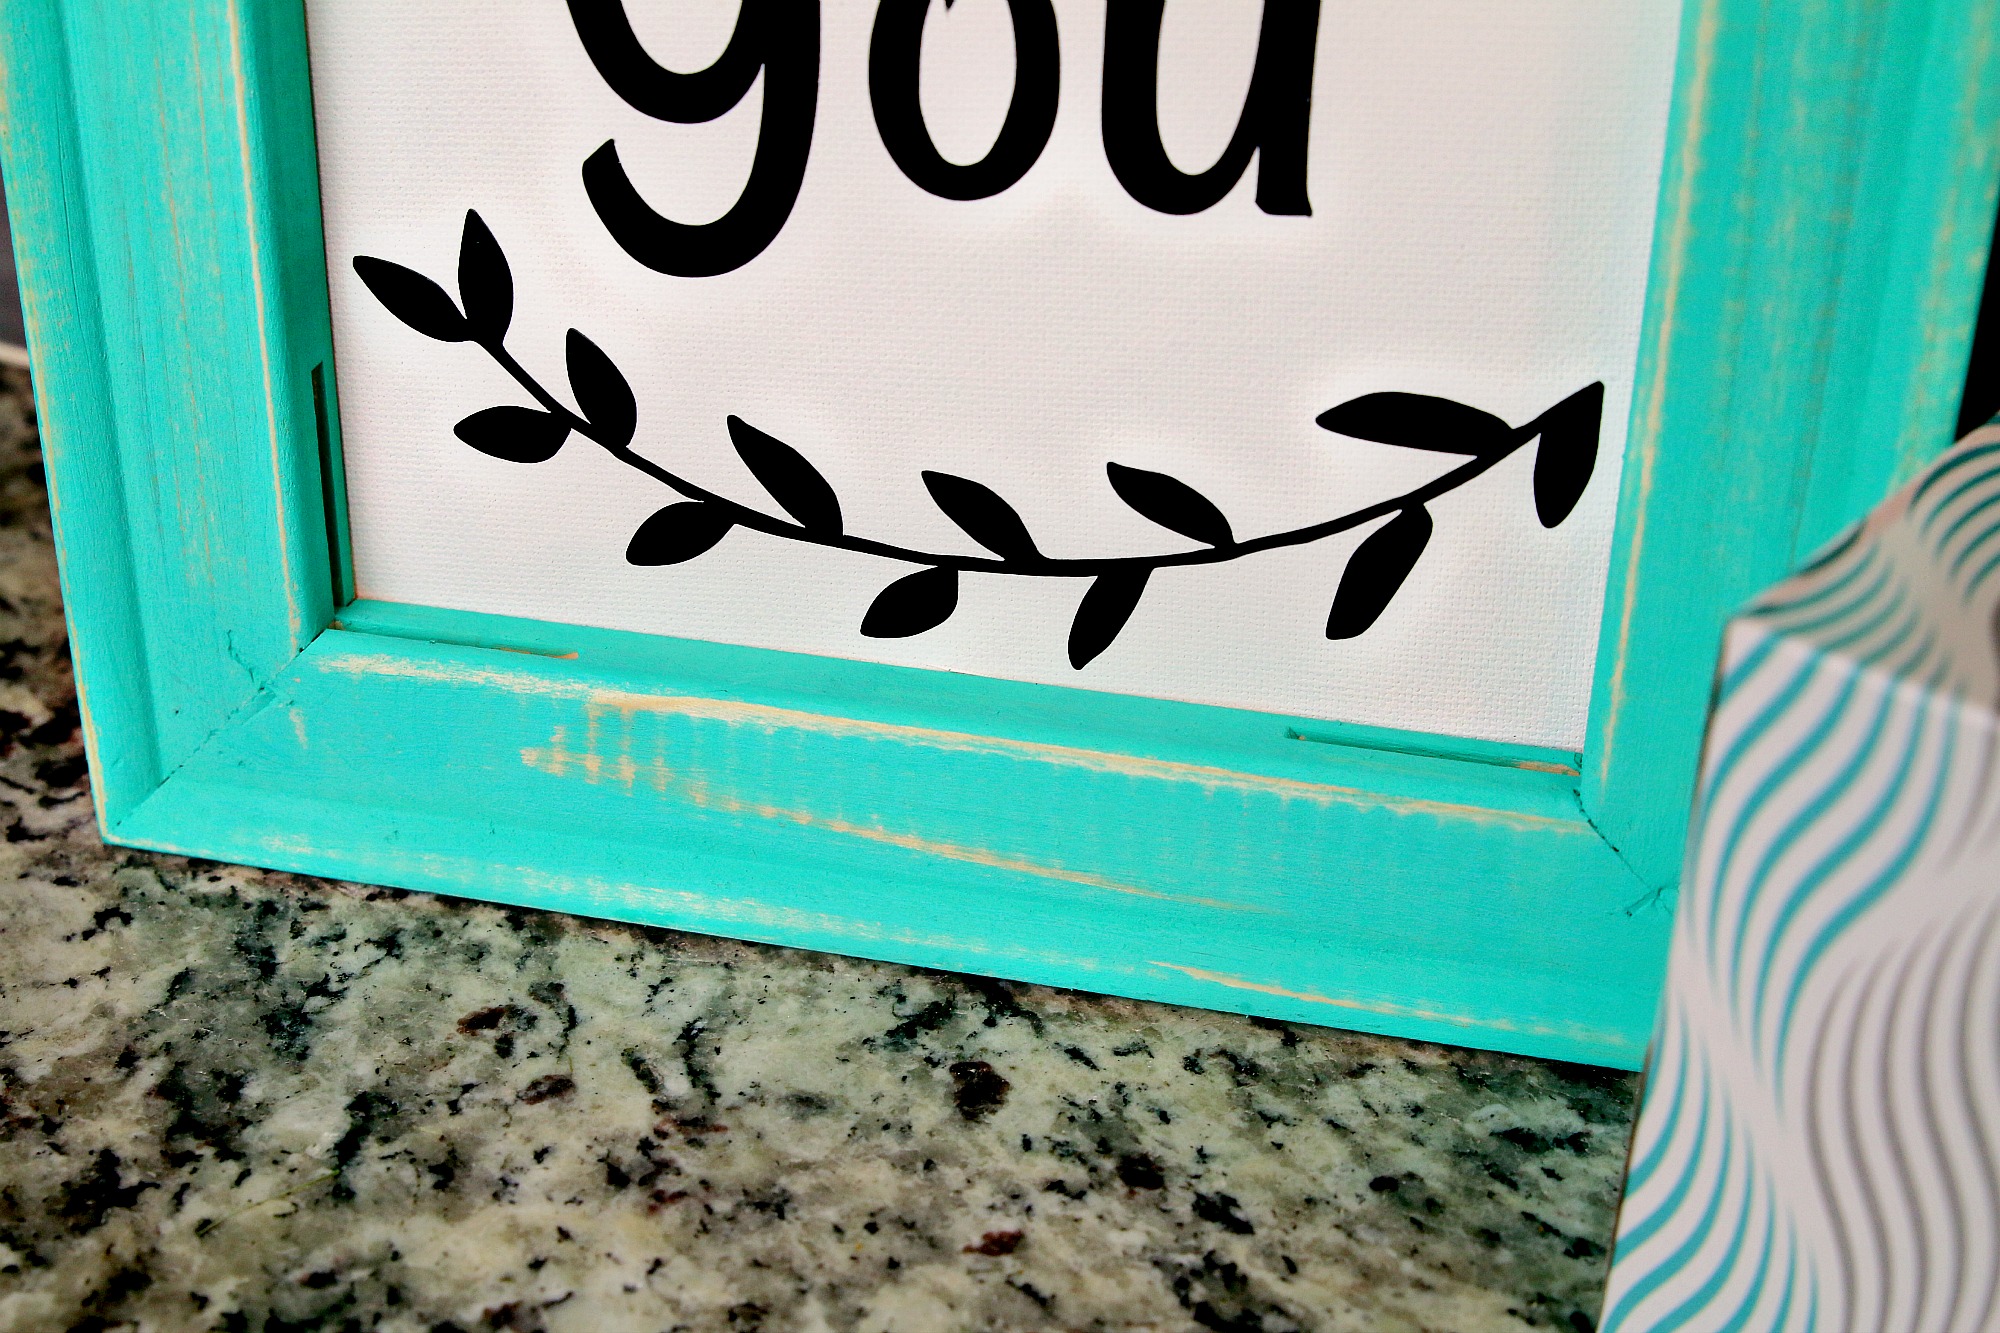
Now you can customize the inside of your canvas to have any design of your choosing. I used the phrase ‘Bless You’ with a simple vine accent. Since my customized frame was going to sit next to my box of tissues, I thought the saying was fitting.
Free Printable Farmhouse Decor

click the image to download free printable template
You can use this printable on your vinyl cutting machine, or simply print it on paper to trim and Mod Podge on your canvas. You can also use it as a template for painting directly onto your canvas.
After you get your sticky vinyl cut out, lay it out on your canvas to position where it fits well.

I use contact transfer paper when transferring vinyl to other smooth surfaces to keep the alignment accuracy. This makes the process go much faster than trying to line up each letter.

I love how the frame turned out. Hand sanding was quick and gave it the farmhouse look I wanted.
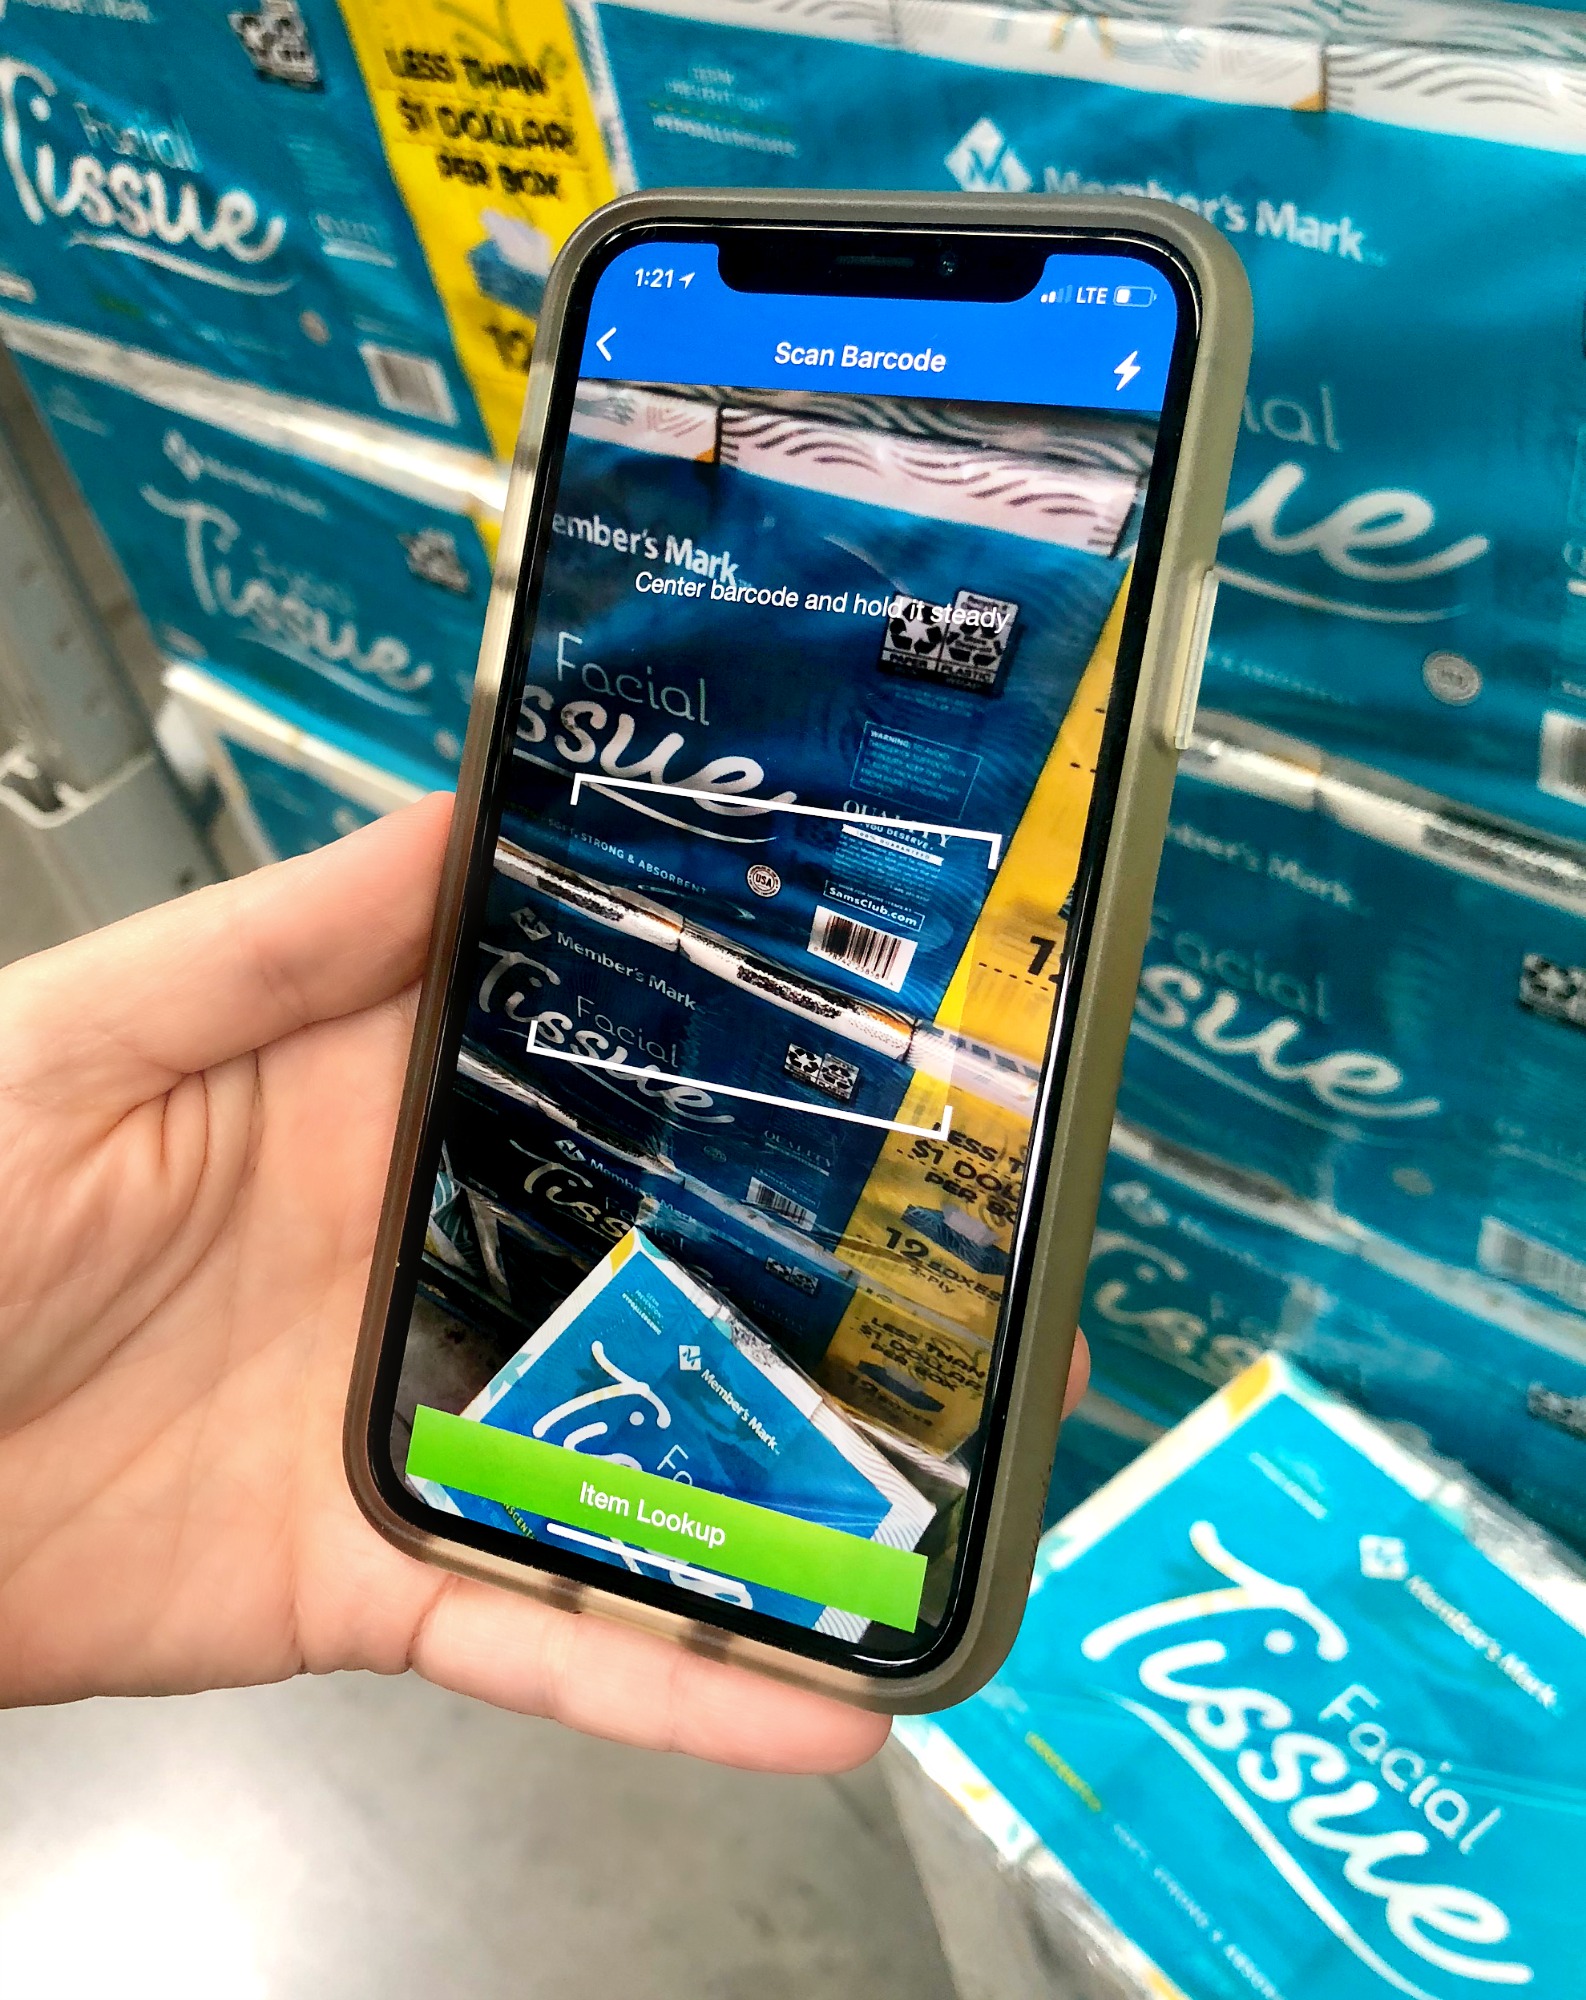
I love shopping at Sam’s Club. It is the perfect way to stock up on the household items I need at a reasonable price. With the new Scan & Go app, I was able to go straight to the household paper aisle, pick up a box of Member’s Mark Brand 2-ply Facial Tissue, scan the barcode, pay from my smartphone, and go. No need to wait in line.

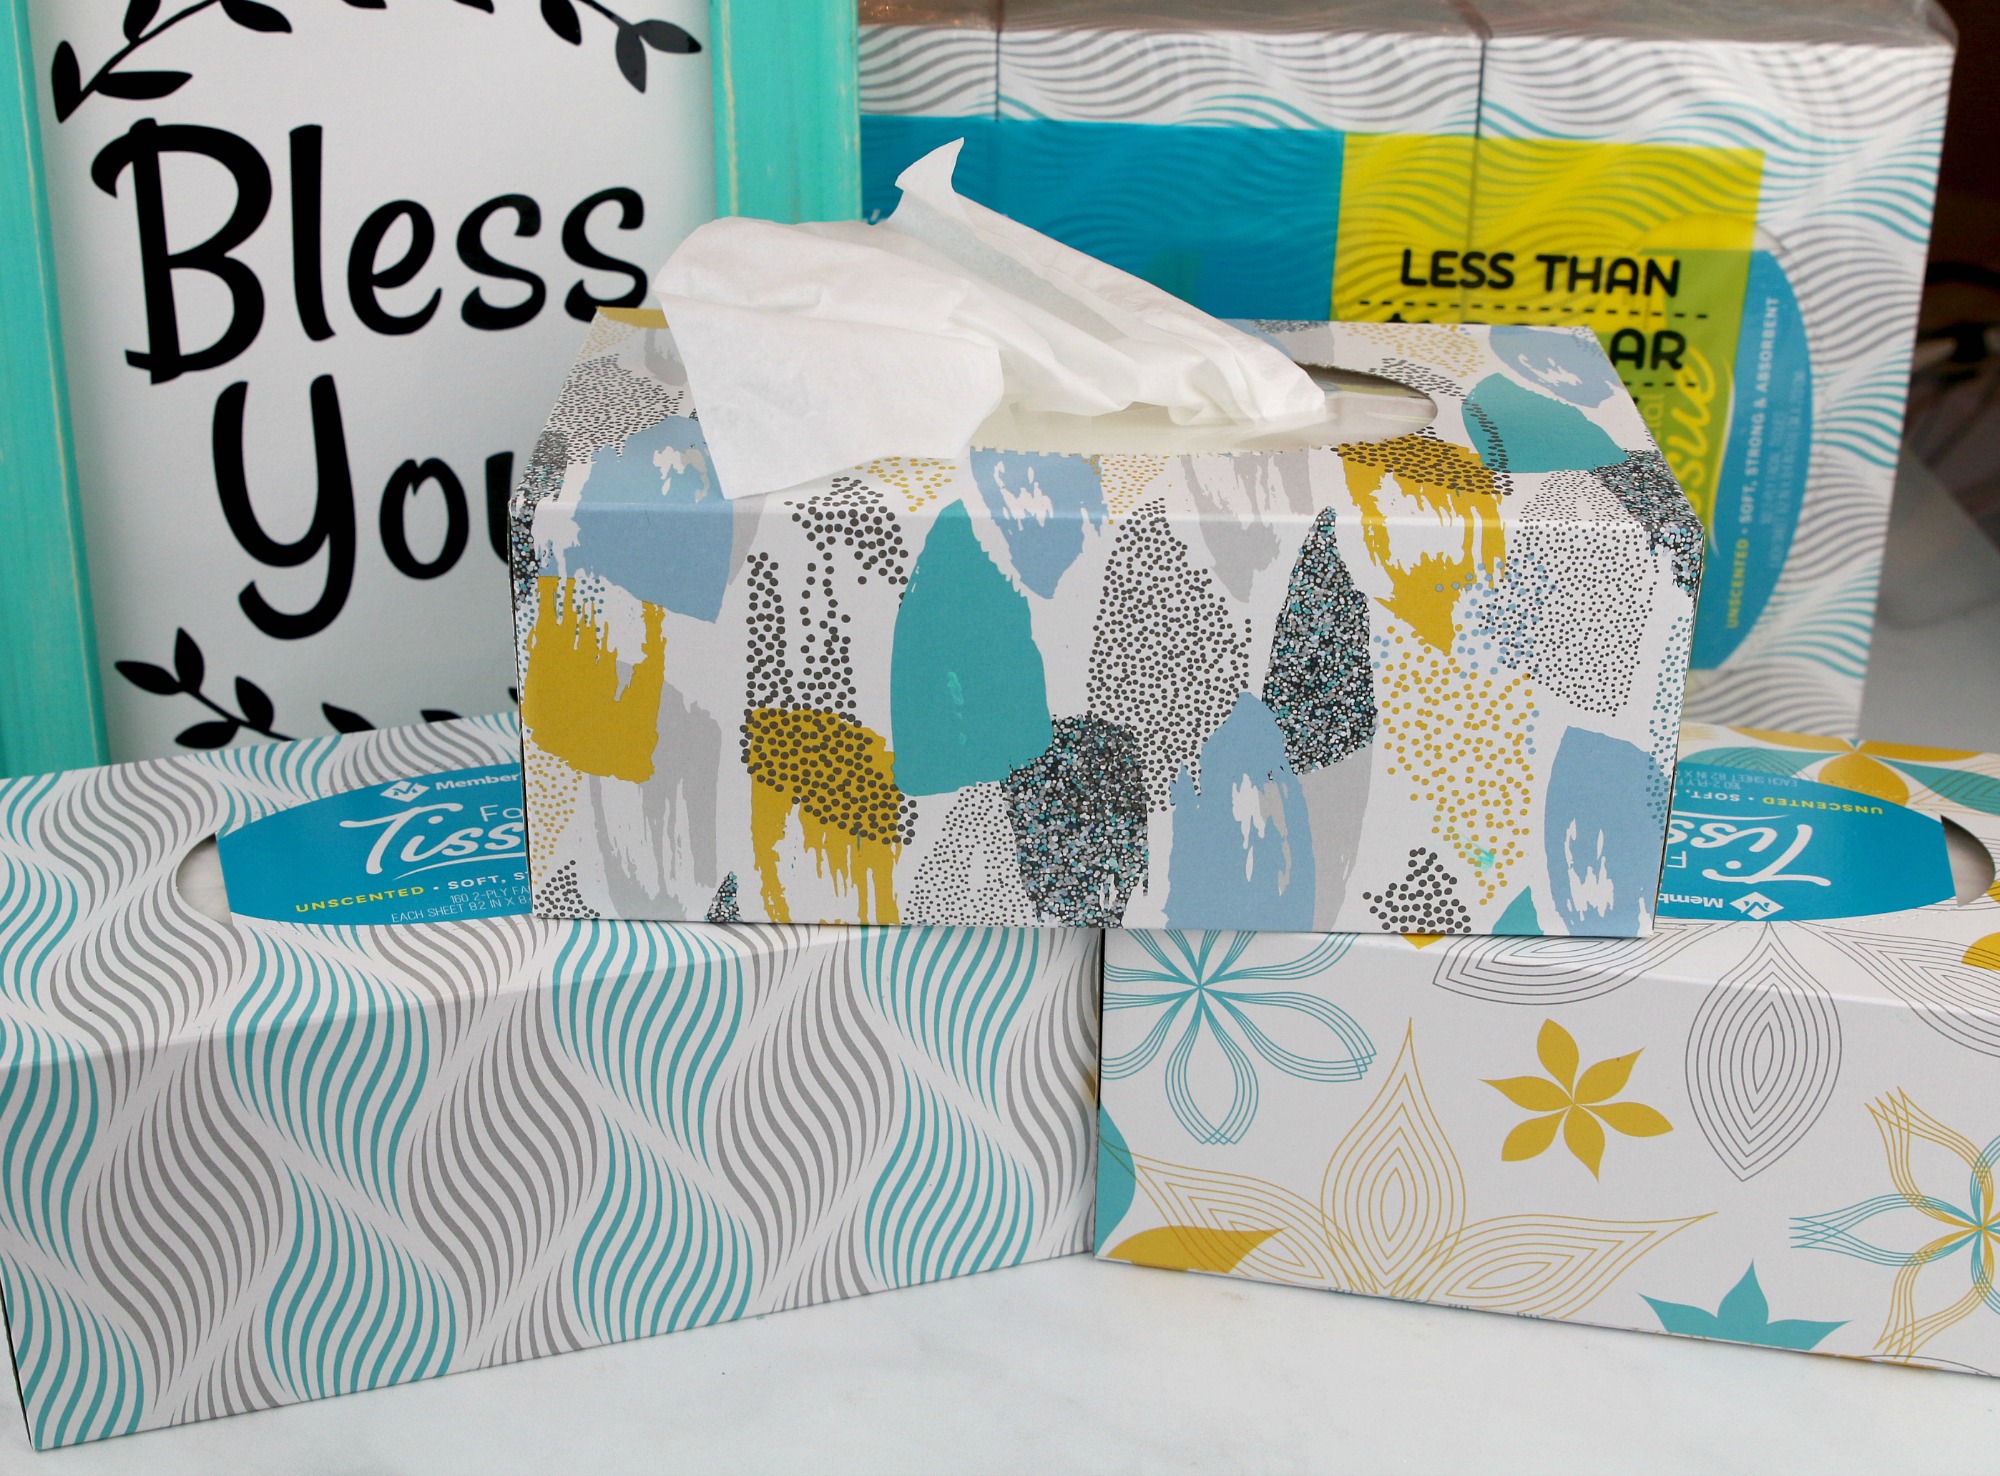
Now with 12 boxes of 160Ct 2ply facial tissue, 1,920 tissues total, I am able to have a box in each room of the house, in my office, and in my vehicle. We deal with year-round allergies, so keeping tissues on hand is crucial.

The box designs were created to complement home decor and they feature my favorite colors. The tissues are hypoallergenic, making them perfect for use with allergies, and are free from ink, perfume, lotion, and fragrance.
Share your farmhouse decor projects with me on Instagram!
Pin for Later:
This is a sponsored post written by me on behalf of Member’s Mark Brand 2-ply Facial Tissue.
It’s quite surprising what a pretty wooden frame was hiding beneath the canvas 🙂 Have you got an article on how exactly transfer the vinyl to the canvas. I’m quite new to this and would use some advice 🙂 Thanks for sharing Dwan!