
How to Create a Photo Booth at Home
For my daughter’s 13th birthday celebration we decided to host a party at home with family and friends. A photo booth always adds fun entertainment to any event so we wanted to create our own little space for everyone to capture memories.
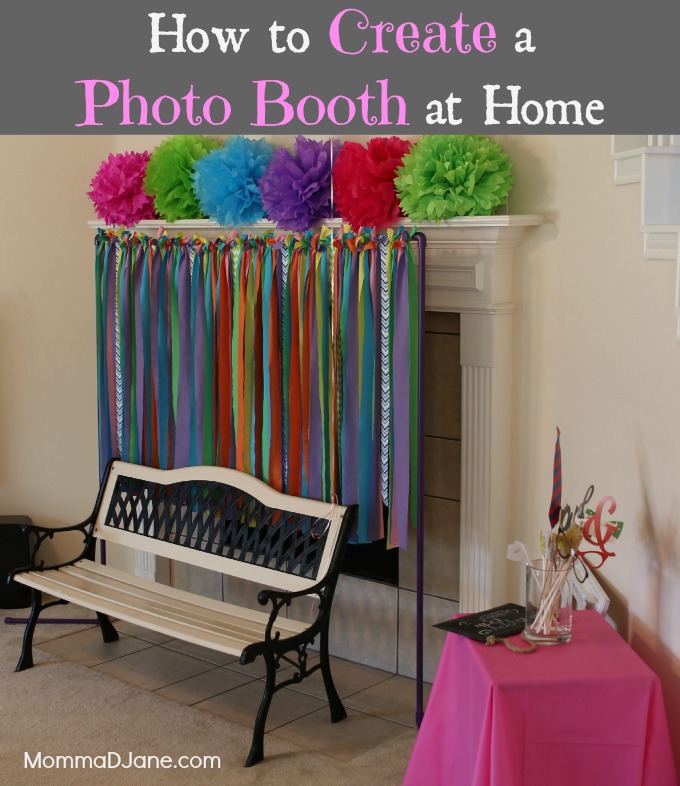
Once we created the backdrop we set it up in the living room and used one of our freshly painted benches in front of it for the guests to sit on for photos. I covered a small table with a simple table cloth to hold the photo booth props. Since we only made the backdrop five-foot tall I added some tissue paper pom poms to the top of the fireplace mantel to give it some more height. By adding party decor to the mantel it really tied everything together nicely. I used the same tissue paper pom poms in the kitchen to cover the light fixture.
Making the photo booth backdrop was truly simple. Follow the below steps to make your own.
Supplies Needed:
- Fabric in your choice of color – I purchased one yard of fabric in each color to match the decorations
- PVC pipe – we purchased four 1/2″ PVC pipes in the length of five-foot each – roughly $1.66 each
- PVC Cap – four 1/2″ PVC pipe caps for the end of the feet – roughly $0.38 each
- PVC 90-degree elbow – two 1/2″ PVC 90-degree elbows to hold the top on the legs – roughly $0.28 each
- PVC Tee – two 1/2″ PVC pipe tee for the bottom of the legs – roughly $0.73 each
- Small hand saw – one of the five-foot PVC pipes must be cut for the feet
- Scissors – for cutting fabric
- Spray paint – for PVC pipe, make sure the paint is made for use on plastic or it will chip
Directions:
You will purchase four five-foot long PVC pipes but you will only cut one of them. The other three pipes will serve as your top and two legs. The fourth PVC pipe will need to be cut into four equal sections. The feet of your photo booth will consist of two smaller PVC pipes coming out of the each leg.

To make the feet you will need to attach the PVC tee to the bottom of your five-foot leg. Then add the two smaller sections that you cut to each end of the tee. This will hold the leg upright without falling over.
You want to close off the ends of the PVC pipe for the feet so it looks nice instead of an open pipe. You will add PVC caps to each pipe end. So two on each side.

Now that the legs are made it is time to add the top PVC pipe. To hold the five-foot long pipe across the top you need to add the PVC 90-degree elbows to each end so you can attach the legs.

Tada! Now all three sections are held together nicely and the feet are spaced out at the bottom to keep it standing. Once the backdrop frame is complete you can paint it. In the past I even covered one with burlap by wrapping it around and using the hot glue gun. Or you can leave it white, it’s your choice. We painted ours after it was all together to make it easier. Make sure your spray paint is made for plastic or PVC pipe, not all spray paint will hold. If it is only made for wood then it will chip and peel.
After the frame is dry, it’s time to add the backdrop. I found some chevron ribbon on clearance and since the chevron print matched her party theme I bought it to add to the backdrop. However since we were making the ribbons about three-foot long each, I was only able to get about 3-4 strips out of each roll of ribbon. To add a few textured pieces it worked great but the cost isn’t justified to only use ribbon. Fabric is much more inexpensive.
I purchase a yard of fabric in each color of her party to create a multi-colored backdrop. You can also use burlap. I cut each strip into two-inch pieces which made me have around 17 pieces of each color.
Adding the ribbon to the PVC pipe was not as easy as adding the fabric. For the ribbon I used the hot glue gun and wrapped it around the top and glued the ribbon to itself so it was able to slide down the pipe. For the fabric I simply tied a knot at the top which gave it a nice look across when it was complete.

The photo booth area we setup doubled as a place for taking other party photos beyond the silly ones with props. We used this same area for the birthday girl to open her presents and even blow out the candles on her cake.

Since the backdrop matched her party theme this worked perfect for all the special moments.

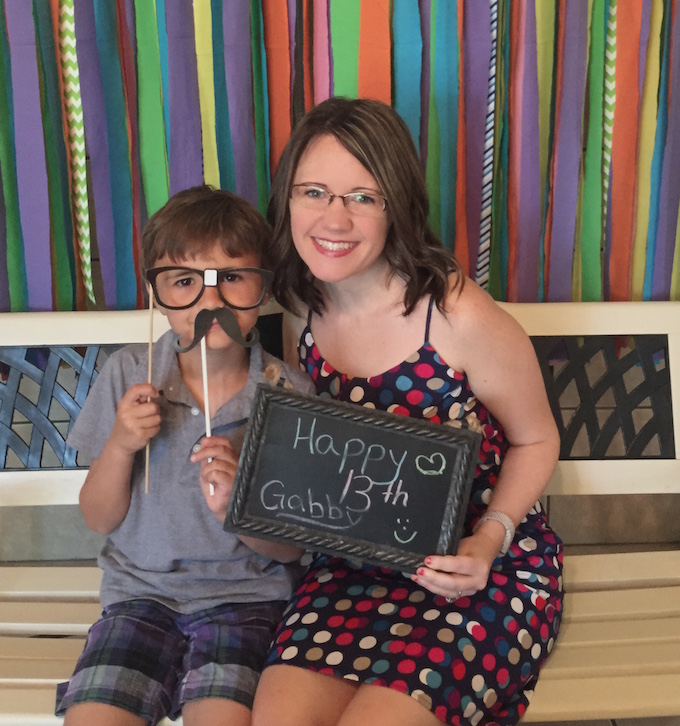
I love how it all turned out and the photos from the party are something Gabby will cherish. Some of the props we used besides the ones on a stick were a chalkboard for birthday messages, a boa, and several large empty photo frames that the party guests held in front of their face.
What are your favorite props to use in a photo booth?
love this! i think every party should have a photo booth area. trying to think of where to do one outside at my daughter’s party this summer…
What a cute idea! And perfect for a birthday party for everyone to take pictures and remember the day!