Diamond Painting How To: 10 Diamond Painting Tips for Beginners
Diamond Painting is the newest trend that is sweeping the craft world by storm. If you love paint by number or cross stitch you will definitely love diamond painting. Here’s the run down and a quick diamond painting how to! Plus, keep reading for a printable diamond painting log to help you keep your art organized!
Diamond Painting How To
What is Diamond Painting?
Diamond Painting is the process of attaching sparkly resin rhinestones(AKA-Diamonds) to a pre-printed canvas. The canvas is sticky with poured glue or double-sided tape allowing them to stick to it. The process produces a beautiful, mosaic piece of art that requires no artistic ability. The rhinestones give a sparkle like effect, making it a truly one of a kind piece.
How do You Diamond Paint?
It is really easy! The canvas is color-coded, just like paint-by-number. The codes coordinate with your resin diamonds. Most kits go by the popular DMC color codes from cross-stitch. It truly is a hybrid of those two crafts. When you purchase a kit you will receive an applicator kit. This includes your applicator, tray, wax, and diamonds (resin rhinestones). Just pour the diamonds in the tray, dip your applicator in the wax and pick up one of your diamonds. Then you just place it on the canvas where it goes based on the color-coded chart. It really is that easy.
Paintings come with two different diamond shapes. Square, the original shape, creates a more finished piece because you can’t see any gaps in the canvas. They are placed edge-to-edge and take a little more patience. Round diamonds are easier to use but you can see the gaps in the canvas. The most popular shape is round. Specialty paintings often use a scattering of diamonds called aurora borealis (AB) diamonds. They are used sparingly to create a shimmering, glowing effect on the canvas. Diamond shapes are a personal preference and you should try each one to see which one you like best.
Diamond painting is also used as therapy. It can be very relaxing and reduces anxiety, stress, and nervousness. Spending just 15 minutes a day diamond painting can be good for your overall mental health.

10 Diamond Painting Tips
- Use parchment baking squares to cover your canvas– Most canvases come with a plastic film to protect the glue. This film can become frustrating quickly. One of the best tricks is to buy the parchment paper baking squares. Remove the plastic cover and replace it with the squares. Not only are they easier to work with it but it will allow you to only uncover a small section of your painting to work on, making it easier to concentrate and organize your workspace. It has to be parchment paper, not wax paper. Wax paper will pull the glue off of the canvas and ruin it.
- Don’t forget the light pad– Sometimes the color codes can be hard to see by lamplight. If you lay your canvas over a light pad, it will illuminate it from the back and make the codes a lot easier to see. The most popular size for diamond painting is A4. It is big enough to light up a nice section of your canvas but small enough to be used in most workspaces.
- Stop the static with dryer sheets– Sometimes diamonds have static and it causes them to stick together. If you place little pieces of a dryer sheet in the container and shake it, it will get rid of the static. It makes working with your diamonds a little easier.
- Invest in resealable containers– With diamond painting, you have to be organized. The diamonds are small and can be easily lost. Using a resealable container will help keep them safe. There are several options on Amazon and the round bead containers from Walmart are great for the bigger paintings that have more than 20 colors of beads.
- Label your containers– When you are organizing your diamonds, don’t forget to label your container with the code number and the corresponding symbol.
- Be gentle– When you are applying your diamonds it is easy to press down really hard. This actually causes the diamonds to pop or can raise the glue on the canvas, making the diamond sticky. Be gentle when placing them.
- Bigger is better– When buying your canvas, the bigger it is, the better the look. Small paintings lose details. Bigger paintings are able to keep those small details and look better finished. Buy the biggest size you can afford. Try to go 20.5 inches or larger.
- Start at the bottom– Start at the bottom of your canvas and work up. That way you don’t have too much of your canvas exposed at one time.
- Work a small area at a time– When you have too much of your canvas exposed it can be confusing and also daunting. Instead of enjoying what you are doing, you will keep focusing on how much you still have left to do. That is another reason why the parchment baking squares are so awesome.
- Take your time– It isn’t a race to see who can finish the fastest. Take your time and enjoy the process. Binge on your favorite tv show, listen to a podcast or watch a movie while doing it. It will definitely relieve the stress of the day and make the time enjoyable.

Bonus Tip:
Take the time to stretch. If you are diamond painting for long periods of time get up and stretch your legs, back, and neck. If you don’t you can hurt your muscles and joints. Always work on your painting in a comfortable environment so you can relax.
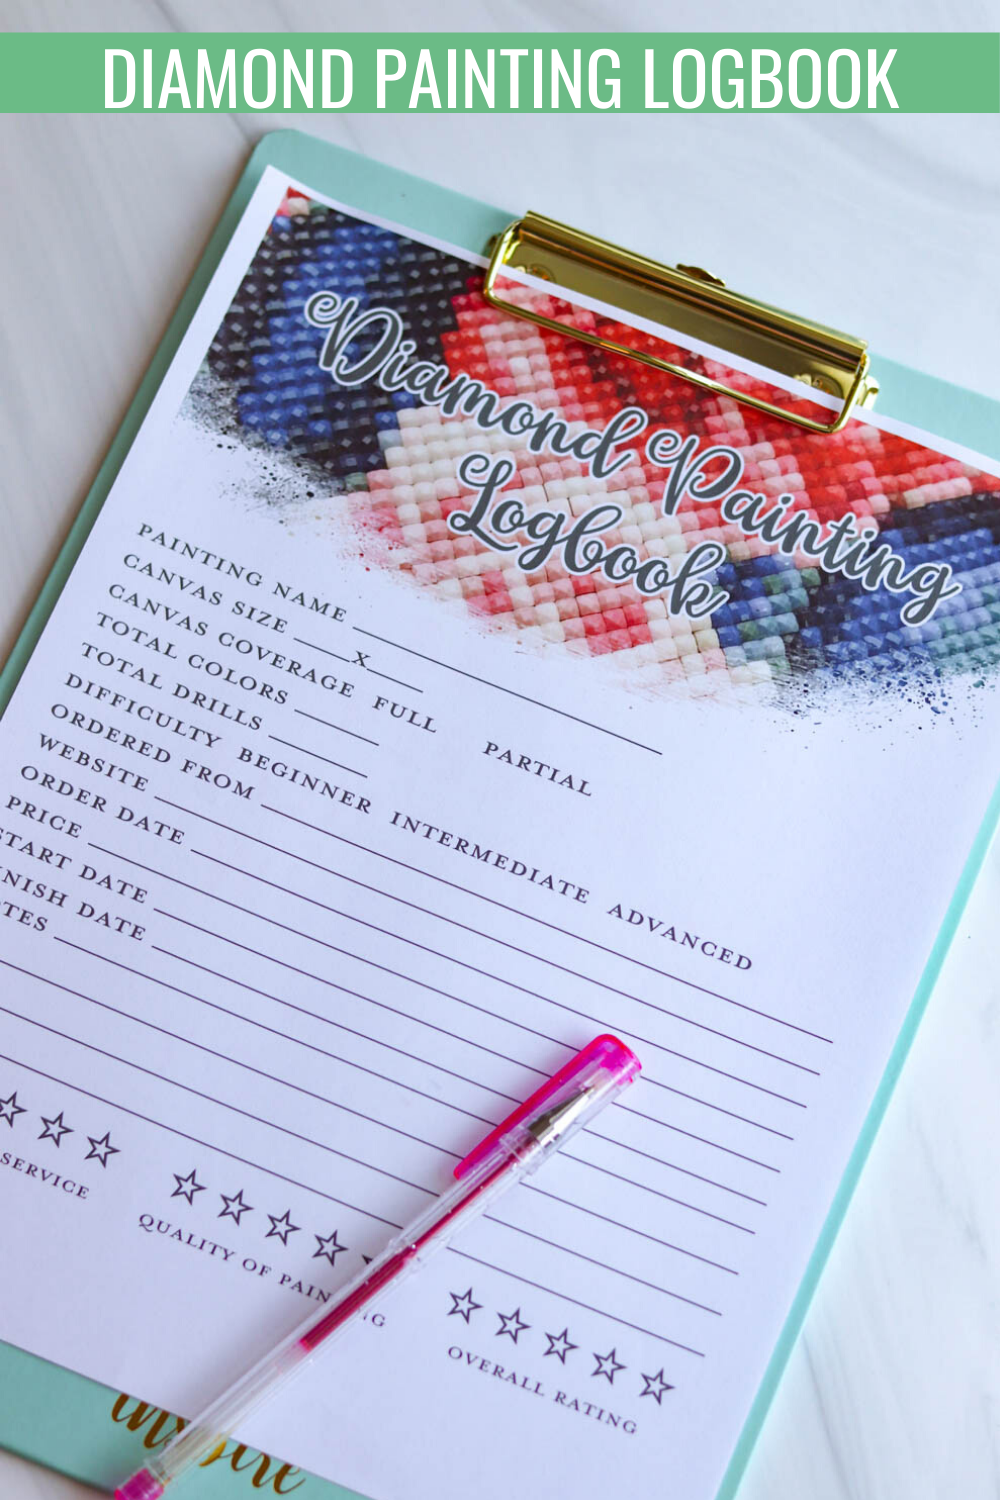
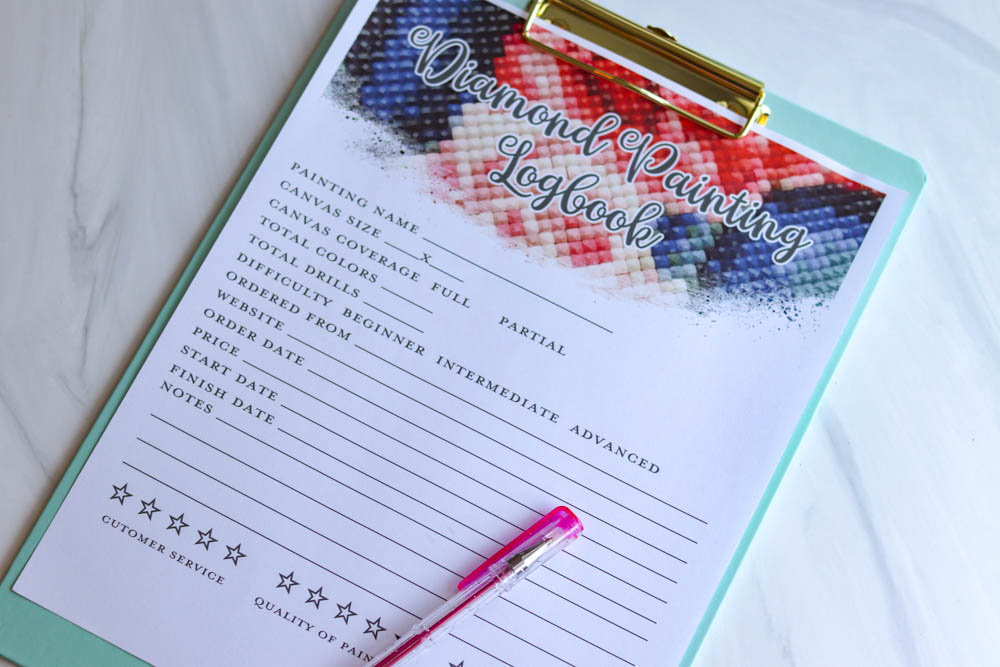
Diamond Painting Logbook Printable Download

Diamond paintings can be found at hobby stores such as JoAnn’s and Hobby Lobby. You can also find them on Amazon and websites that are exclusively for diamond painting. They also make great gifts because some sites do offer a service where you can take your own pictures and turn them into diamond paintings. They are a great gift for newlyweds, parents, or for memorials to beloved family members or even pets.

Easy Crafts:
- DIY Farmhouse Pomander Ball: Dollar Store Craft
- DIY Paper Flower Spring Place Setting Craft
- How to Perform Paint Stencils for Walls
Pin these Diamond Painting Tips: